강의 소개
안녕하세요 코드팩토리입니다! 제가 최근에 타짜라는 영화를 봤는데요 섯다를 치는 신세경이er 로 화투 카드 뒤집는 애니메이션을 만들어보려고 합니다.
이미지 다운로드
자 일단은 아래 이미지들을 다운받아 주세요. 위부터 아래로 각각 화투의 뒷면, 3광, 8광입니다.


이 카드를 렌더링하는 함수를 먼저 작성 해보겠습니다.
renderCard({
Key key,
bool isBack = true,
bool isThree = true,
}) {
assert(key != null);
String basePath = 'assets/card_flip/';
if (isBack) {
basePath += 'back.jpg';
} else {
if (isThree) {
basePath += '3.jpg';
} else {
basePath += '8.jpg';
}
}
}아주 간단한 함수예요. ValueKey 를 받아서 Container 에
인젝트 해주고 (애니메이션을 할때 같은 위젯을 사용할경우 위젯간 구분을
하기위해 key 값이 꼭 필요합니다) isBack 과 isThree 파라미터를
사용해서 특정 이미지를 불러내고 있어요.
이미지 렌더링하기
다음은 renderBack 과 renderFront 함수를 작성해서 38 광땡의
앞 이미지 또는 뒤 이미지를 위젯화 해보겠습니다.
  renderFront({
    bool isThree = true,
  }) {
    return renderCard(
      key: ValueKey(isThree ? 3 : 2),
      isBack: false,
      isThree: isThree,
    );
  }

  renderBack() {
    return renderCard(
      key: ValueKey(false),
      isBack: true,
    );
  }
별로 안어렵죠?
AnimatedSwitcher 사용하기
그럼 AnimatedSwitcher 위젯을 사용해서 간단하게
Fade 애니메이션을 만들어볼게요
bool showFront;
void initState() {
super.initState();
showFront = false;
}
Widget build(BuildContext context) {
return DefaultAppbarLayout(
child: Column(
mainAxisAlignment: MainAxisAlignment.center,
children: [
Center(
child: GestureDetector(
onTap: () {
setState(() {
showFront = !showFront;
});
},
child: AnimatedSwitcher(
duration: Duration(milliseconds: 300),
child: showFront ? renderFront() : renderBack(),
),
),
),
],
),
);
}이미지를 화면의 중앙에 포지션하고 이미지를 누를때마다 앞과 뒤가 바뀌는 애니메이션을 넣었습니다.
여기까진 별로 안어렵죠? 그런데 애니메이션이 저희가 원하는 애니메이션이 아니예요. Fade 애니메이션이 아니고 앞면이 뒷면으로 뒤집히고 뒷면이 앞면으로 뒤집히는 애니메이션을 만들고 싶어요.
AnimatedBuilder 로 뒤집는 애니메이션 만들기
AnimatedSwitcher 의 transitionBuilder 파라미터를
이용하면 쉽게 Flip 애니메이션을 만들 수 있어요.
Widget wrapAnimatedBuilder(Widget widget, Animation<double> animation){
final rotate = Tween(begin: pi, end: 0.0).animate(animation);
return AnimatedBuilder(
animation: rotate,
child: widget,
builder: (_, widget){
return Transform(
transform: Matrix4.rotationY(rotate.value),
child: widget,
alignment: Alignment.center,
);
},
);
}
Widget build(BuildContext context) {
return DefaultAppbarLayout(
child: Column(
mainAxisAlignment: MainAxisAlignment.center,
children: [
Center(
child: GestureDetector(
onTap: () {
setState(() {
showFront = !showFront;
});
},
child: AnimatedSwitcher(
transitionBuilder: wrapAnimatedBuilder,
duration: Duration(milliseconds: 300),
child: showFront ? renderFront() : renderBack(),
),
),
),
],
),
);
}wrapAnimatedBuilder 함수를 작성하고 AnimatedSwitcher 의
transitionBuilder 파라미터에 넣어줬어요.
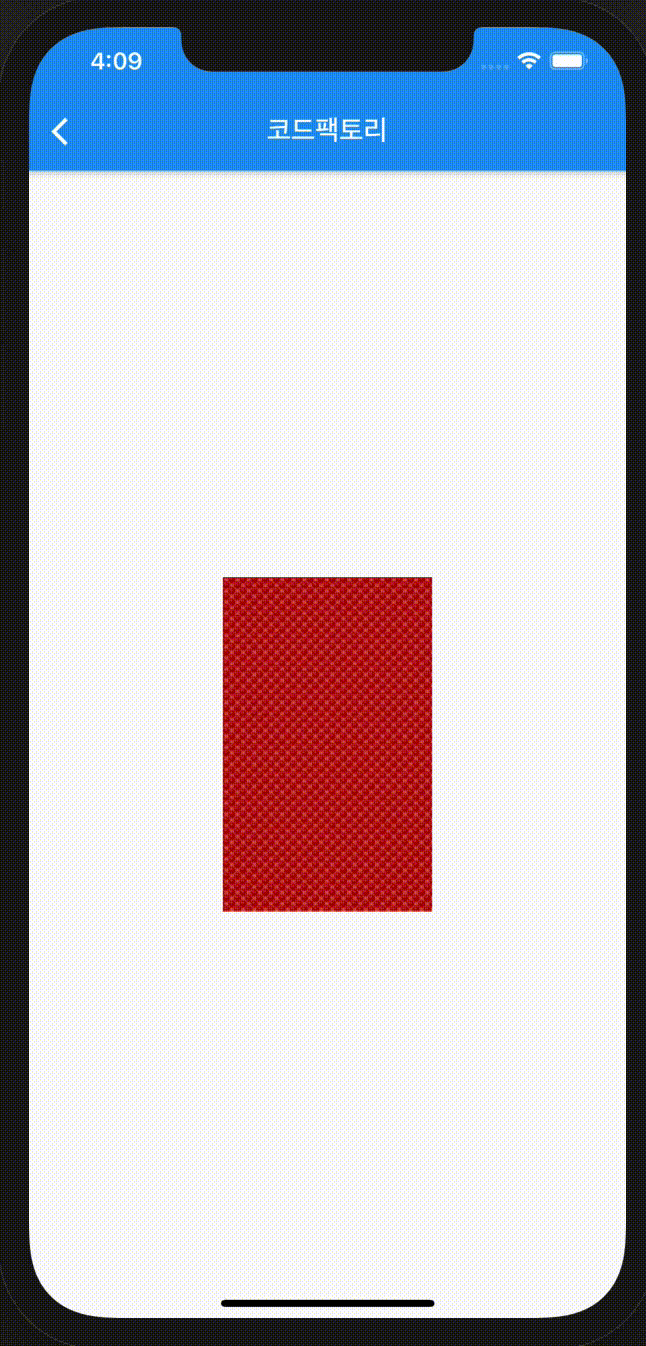
이제 아래와 같이 Flip 애니메이션이 작동해요. 어느정도는 진짜 카드를 뒤지븐것 같은 느낌이 나긴 하네요.
하지만 아직 부족합니다. 뭔가 부자연스럽게 카드가 다 뒤집히기 전에 이미지가 변경되는걸 볼 수 있어요. 이걸 한번 해결 해볼게요.
앞면은 반만 돌리기
앞면이 반 이상 돌아가면 뒷면 이미지로 위젯은 변경을 해야합니다. 그래야
자연스럽게 앞면이 뒷면으로 바뀌는 애니메이션을 작성할 수 있어요. 그러기
위해선 이미지를 탭 했을때 현재 뒷면이 어떤 이미지인지 파악을 해야돼요.
저희가 설정해놓은 key 파라미터를 이용하면 앞면과 뒷면을 아주 쉽게
구분할 수 있습니다.
  Widget wrapAnimatedBuilder(Widget widget, Animation<double> animation) {
    final rotate = Tween(begin: pi, end: 0.0).animate(animation);

    return AnimatedBuilder(
      animation: rotate,
      child: widget,
      builder: (_, widget) {
        final isBack = showFront
            ? widget.key == ValueKey(false)
            : widget.key != ValueKey(false);

        final value = isBack ? min(rotate.value, pi / 2) : rotate.value;

        return Transform(
          transform: Matrix4.rotationY(value),
          child: widget,
          alignment: Alignment.center,
        );
      },
    );
  }
추가적으로 layoutBuilder 를 아래와 같이 고쳐주세요. AnimatedSwitcher
는 상태변경을 받는 순간 바로 위젯을 변경하는데 저희는 자연스럽게 첫번째
위젯이 두번째 위젯으로 변경되는걸 원하기 때문에 현재 위젯을 다시 최상위로
올려주는 작업을 해야합니다.
  Widget build(BuildContext context) {
    return DefaultAppbarLayout(
      child: Column(
        mainAxisAlignment: MainAxisAlignment.center,
        children: [
          Center(
            child: GestureDetector(
              onTap: () {
                setState(() {
                  showFront = !showFront;
                });
              },
              child: AnimatedSwitcher(
                transitionBuilder: wrapAnimatedBuilder,
                layoutBuilder: (widget, list) {
                  return Stack(
                    children: [widget, ...list],
                  );
                },
                duration: Duration(milliseconds: 1000),
                child: showFront ? renderFront() : renderBack(),
              ),
            ),
          ),
        ],
      ),
    );
  }
이제 화투가 잘 뒤집어지는 걸 볼 수 있어요. 하지만 아직 1프로 부족해요. 정말 자연스럽게 뒤집으려면 시각적 효과를 첨가할 필요가 있어요.
Perspective 활용하기
Flutter Perspective Matrix 에 대해서는 여기
에서 더 자세히 알아볼 수 있어요. 이번에는 wrapAnimationBuilder
에 perspective 를 추가해서 멀리있는 부분이 더 짧고 가까이 있는부분이
더 길게 보이게 효과를 줘서 자연스럽게 카드가 뒤집히는 효과를 구현 해볼게요.
Widget wrapAnimatedBuilder(Widget widget, Animation<double> animation) {
final rotate = Tween(begin: pi, end: 0.0).animate(animation);
return AnimatedBuilder(
animation: rotate,
child: widget,
builder: (_, widget) {
final isBack = showFront
? widget.key == ValueKey(false)
: widget.key != ValueKey(false);
final value = isBack ? min(rotate.value, pi / 2) : rotate.value;
var tilt = ((animation.value - 0.5).abs() - 0.5) * 0.0025;
tilt *= isBack ? -1.0 : 1.0;
return Transform(
transform: Matrix4.rotationY(value)..setEntry(3, 0, tilt),
child: widget,
alignment: Alignment.center,
);
},
);
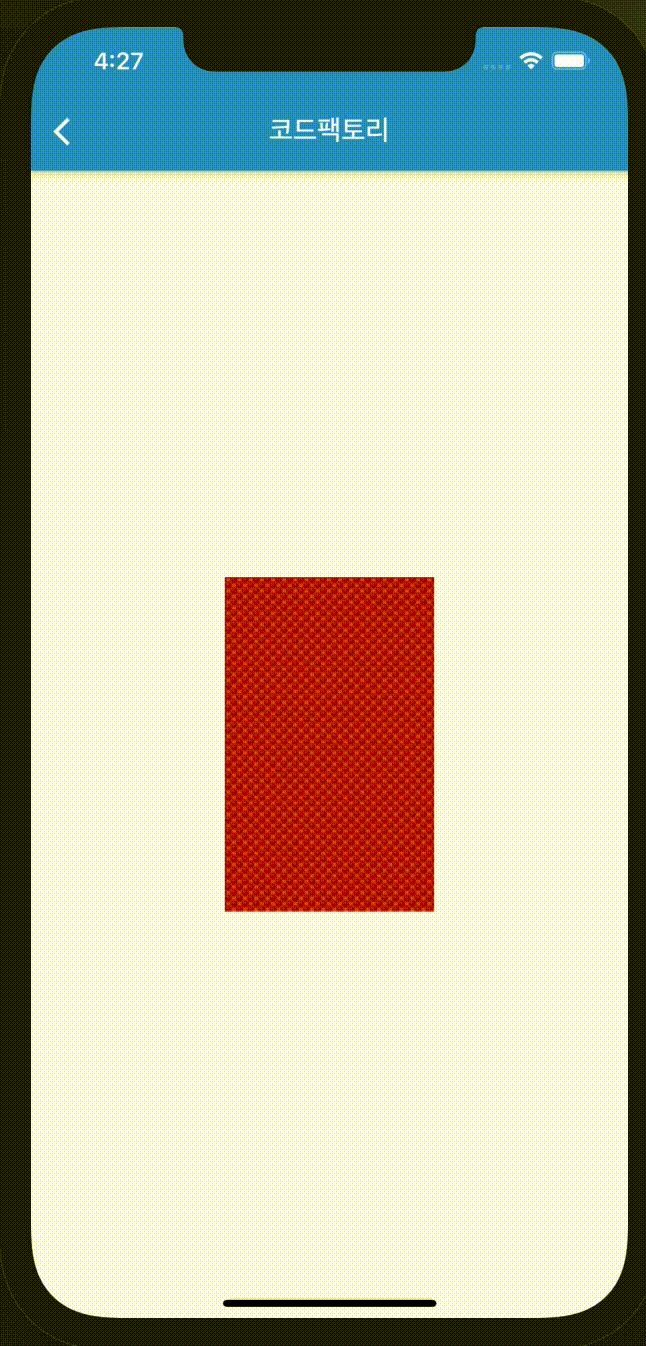
}위 코드를 적용하면 아래와 같은 결과를 얻을 수 있어요.
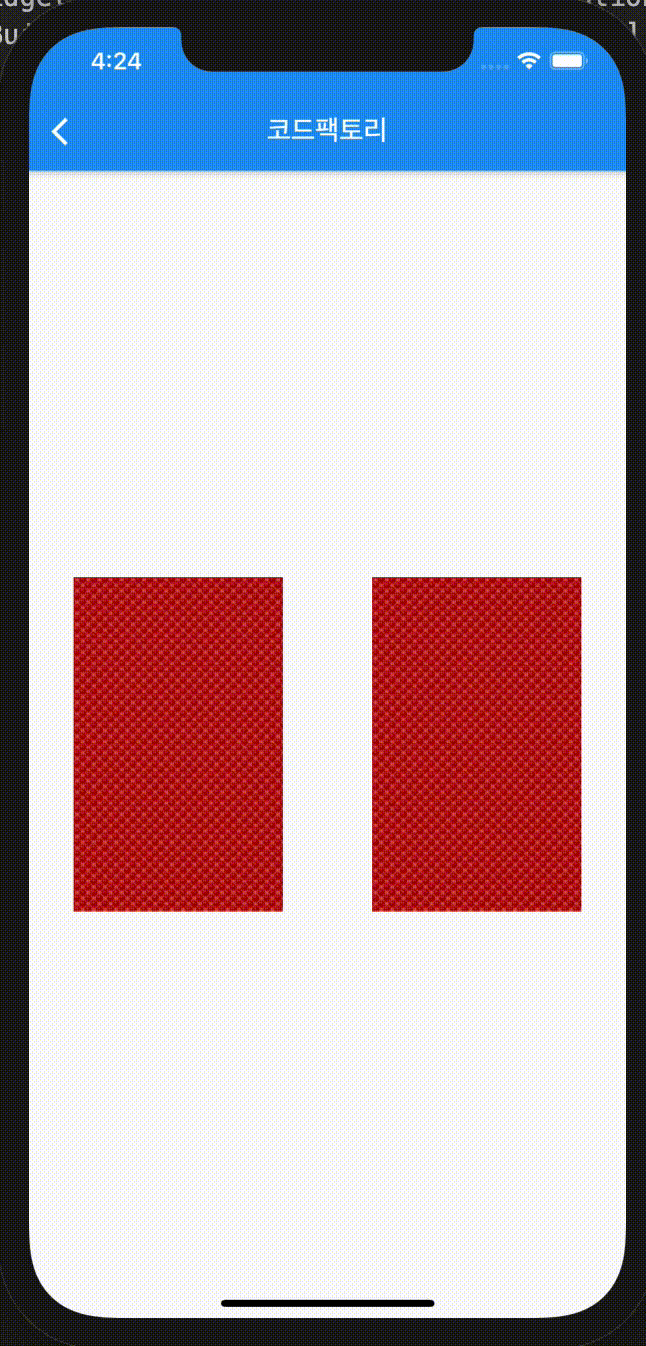
어떤가요? 훨씬 더 자연스러워졌죠? 이제 38 광땡을 나란히 위치시켜 뒤집는 위젯을 제작하고 마무리 할게요.
List<bool> showFronts;
void initState() {
super.initState();
showFronts = [false, false];
}
Widget build(BuildContext context) {
return DefaultAppbarLayout(
child: Column(
mainAxisAlignment: MainAxisAlignment.center,
children: [
Row(
mainAxisAlignment: MainAxisAlignment.spaceAround,
children: [
GestureDetector(
onTap: () {
setState(() {
showFronts = [!showFronts[0], showFronts[1]];
});
},
child: AnimatedSwitcher(
transitionBuilder: (Widget widget, Animation<double> animation){
return wrapAnimatedBuilder(widget, animation, showFronts[0]);
},
layoutBuilder: (widget, list) {
return Stack(
children: [widget, ...list],
);
},
duration: Duration(milliseconds: 1000),
child: showFronts[0] ? renderFront() : renderBack(),
),
),
GestureDetector(
onTap: () {
setState(() {
showFronts = [showFronts[0], !showFronts[1]];
});
},
child: AnimatedSwitcher(
transitionBuilder: (Widget widget, Animation<double> animation){
return wrapAnimatedBuilder(widget, animation, showFronts[1]);
},
layoutBuilder: (widget, list) {
return Stack(
children: [widget, ...list],
);
},
duration: Duration(milliseconds: 1000),
child: showFronts[1] ? renderFront(
isThree: false,
) : renderBack(),
),
),
],
),
],
),
);
}결과물은 아래와 같습니다~