서론
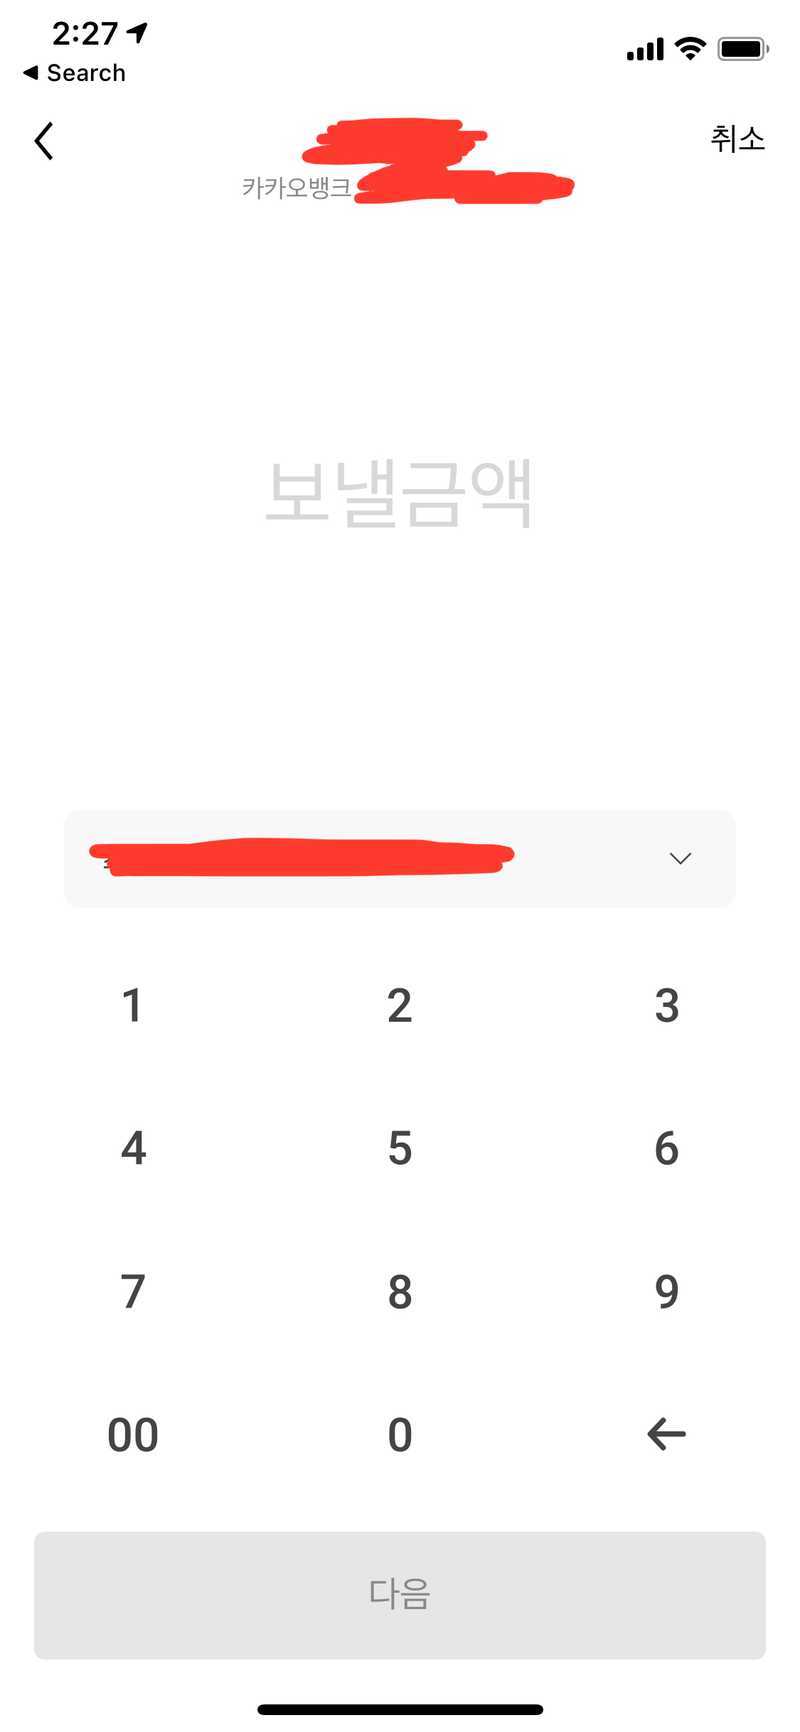
오늘은 Flutter 로 커스텀 키보드를 만들어보려고 합니다. 특수한 상황이 아닌 경우 각 OS 에서 제공해주는 기본 키보드의 기능이 충분하지만 만약에 특수한 키보드를 사용해서 UI/UX 를 대폭 증진 시킬 수 있다면 직접 키보드를 제작해야하는 상황이 올 수도 있습니다. 예를들면 금융 앱에서 숫자를 입력할때라던가 캘린더 앱에서 날짜를 쉽게 지정할 수 있도록 해야할때가 해당되죠. 연습으로 카카오뱅크의 이체금액 입력 키보드를 카피 해보도록 하겠습니다.
Youtube 영상
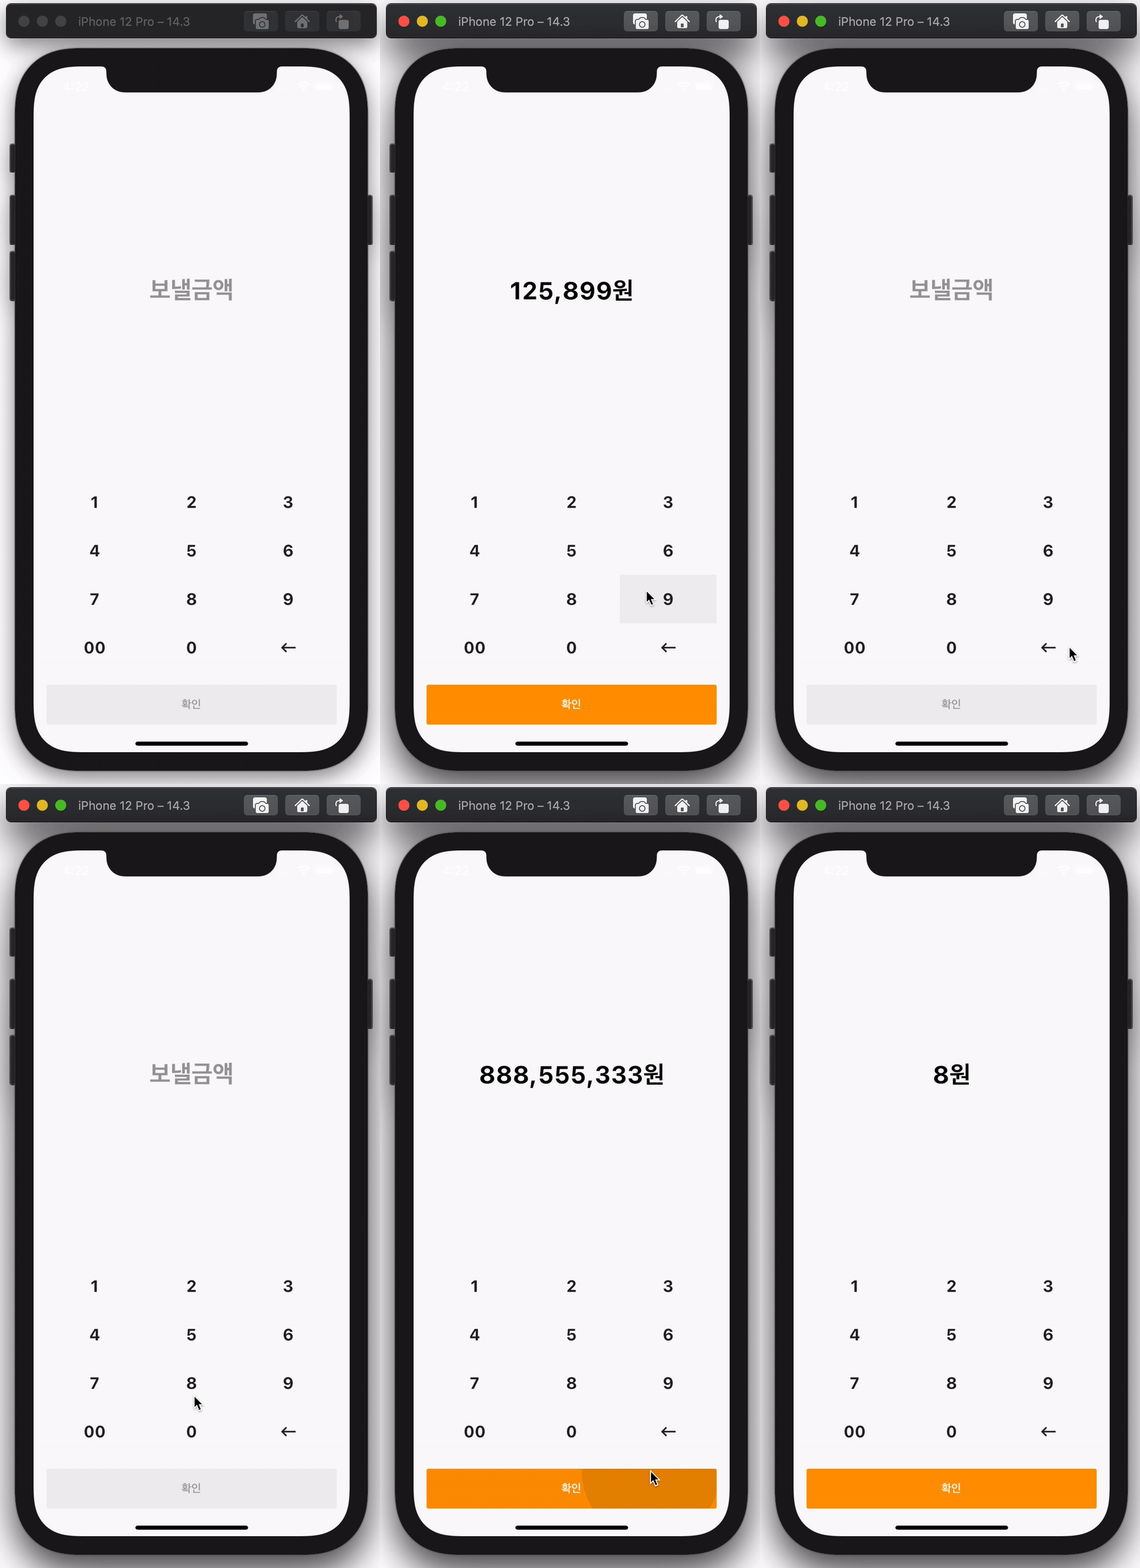
목표 스크린샷
완성된 UI
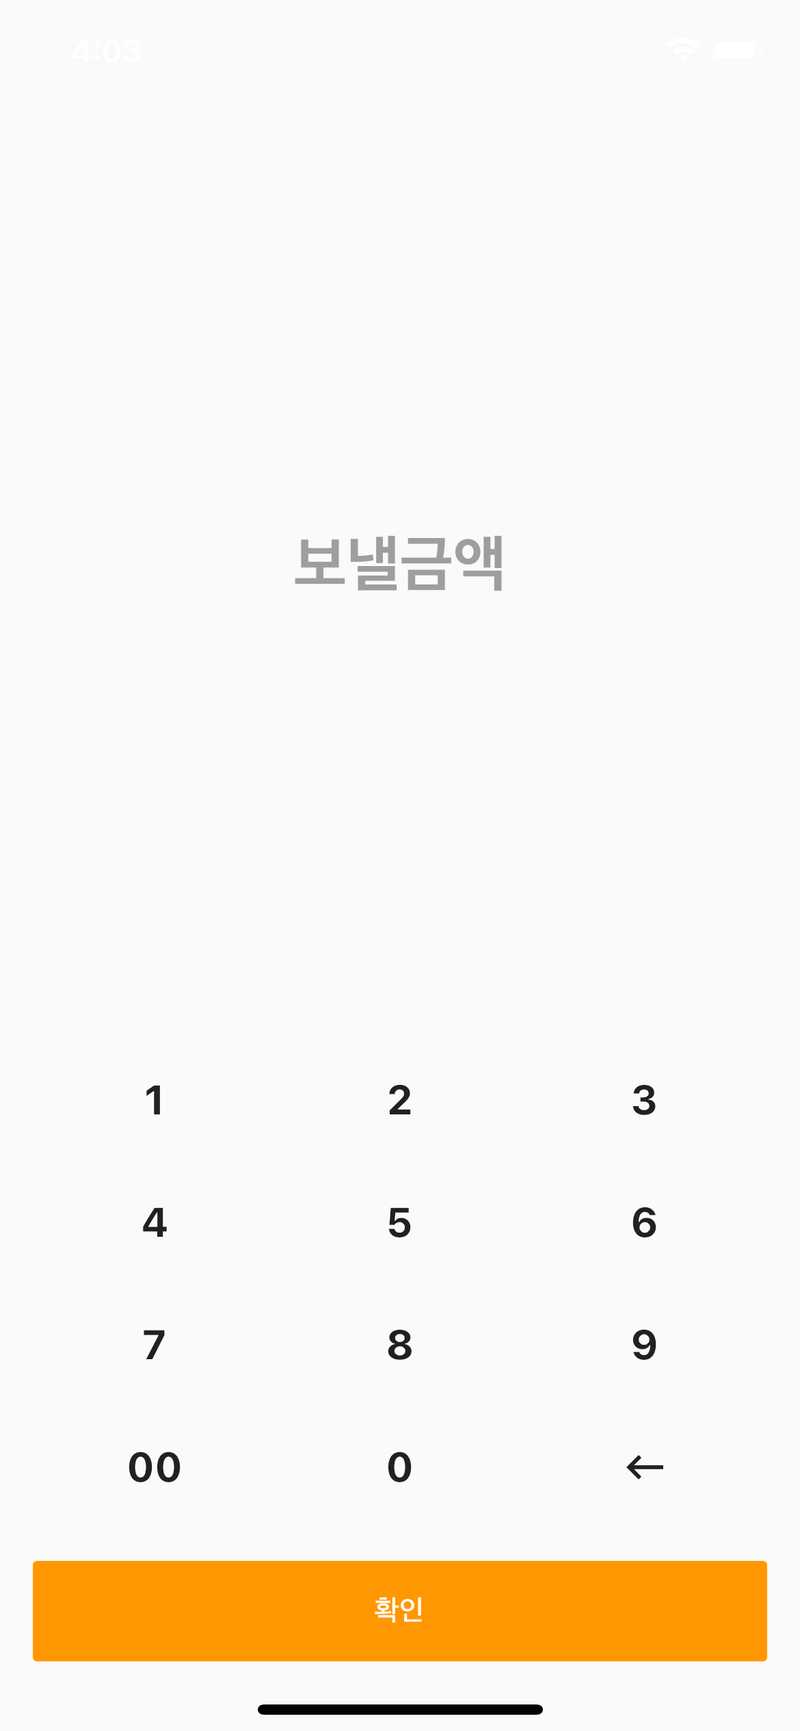
아래 화면을 제작 해보도록 하겠습니다!
개발환경 및 요구사항
[✓] Flutter (Channel stable, 1.22.4, on Mac OS X 10.15.7 19H114 darwin-x64, locale en-KR)

[✓] Android toolchain - develop for Android devices (Android SDK version 30.0.3)
[✓] Xcode - develop for iOS and macOS (Xcode 12.3)
[✓] IntelliJ IDEA Ultimate Edition (version 2020.2.1)
키 만들기
어떤 개발이든 개발할 목표를 가장 작은 단위로 쪼개서 개발을 시작하는게 중요합니다. 이번에 제작할 키보드는 키보드의 각 키를 가장 작은 단위로 생각하고 KeyboardKey 클래스 먼저 생성해보도록 하겠습니다.
KeyboardKey.dart
class KeyboardKey extends StatefulWidget {
final String label;
final dynamic value;
final ValueSetter<dynamic> onTap;
KeyboardKey({
this.label,
this.onTap,
this.value,
}) : assert(label != null),
assert(onTap != null),
assert(value != null);
_KeyboardKeyState createState() => _KeyboardKeyState();
}
class _KeyboardKeyState extends State<KeyboardKey> {
Widget build(BuildContext context) {
return InkWell(
onTap: (){
widget.onTap(widget.value);
},
child: Container(
child: Center(
child: Text(
widget.label,
style: TextStyle(
fontSize: 20.0,
fontWeight: FontWeight.bold,
),
),
),
),
);
}
}일단 이정도로 키를 생성 해보도록 할게요.
키보드에 키 넣기
위에서 제작한 KeyboardKey 위젯을 사용해서 키보드를
구현 해보겠습니다.
Keyboard.dart
class CustomKeyboardScreen extends StatefulWidget {
_CustomKeyboardScreenState createState() => _CustomKeyboardScreenState();
}
class _CustomKeyboardScreenState extends State<CustomKeyboardScreen> {
final keys = [
['1', '2', '3'],
['4', '5', '6'],
['7', '8', '9'],
['00', '0', '<-'],
];
Widget build(BuildContext context) {
return Scaffold(
body: SafeArea(
child: Column(
mainAxisAlignment: MainAxisAlignment.end,
children: keys
.map(
(x) => Row(
children: x.map((y) {
return KeyboardKey(
label: y,
onTap: (val) {},
value: y,
);
}).toList(),
),
)
.toList(),
),
),
);
}
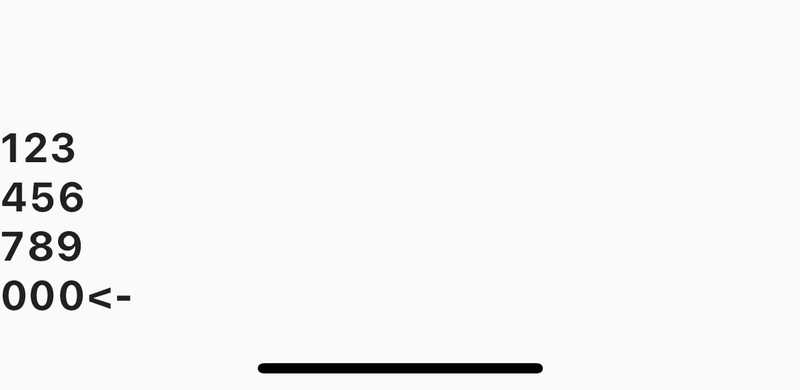
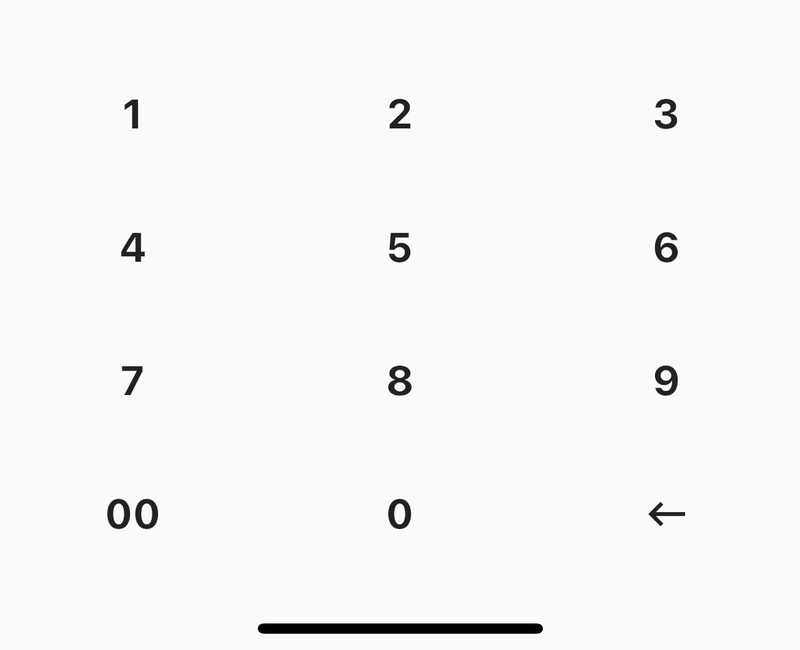
}일단 키가 보이게 만들어 봤습니다. 아래같은 그림이 나오네요. UI/UX 개선이 매우 시급합니다.
키보드 균등하게 배치하기
각 키가 한 Row 의 3분의 1을 차지하면 되기 때문에 간단하게 Expand 위젯을 사용해서 키 배치 문제를 해결 해보겠습니다.
Keyboard.dart Key mapping 하는 부분
...
Column(
  mainAxisAlignment: MainAxisAlignment.end,
  children: keys
      .map(
        (x) => Row(
          children: x.map((y) {
            return Expanded(
              child: KeyboardKey(
                label: y,
                onTap: (val) {},
                value: y,
              ),
            );
          }).toList(),
        ),
      )
      .toList(),
)
...
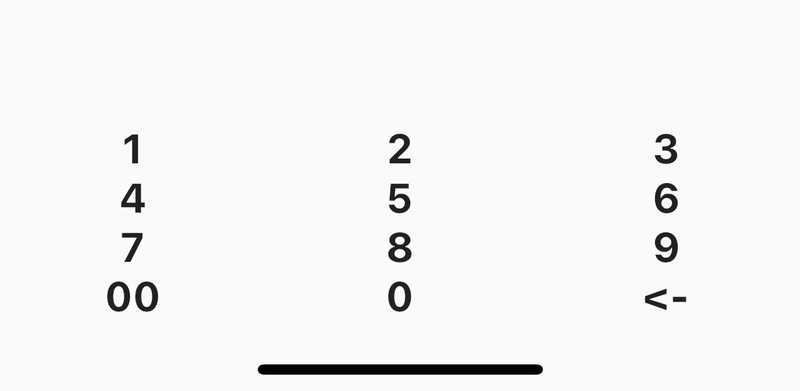
가로로는 이제 배치가 균등하게 돼서 봐줄만 하네요. 그런데 아직도 세로로 너무 납작한 경향이 있어요. 이걸 해결할 수 있는 방법은 여러가지가 있는데 저는 AspectRatio 위젯을 사용해서 가로 길이가 세로 길이의 2배가 되도록 설정 해볼게요.
AspectRatio 로 키의 넓이에 따른 높이 설정하기
KeyboardKey.dart InkWell 바로 밑에
  AspectRatio(
    aspectRatio: 2, // 넓이/높이 = 2
    child: Container(
      child: Center(
        child: Text(
          widget.label,
          style: TextStyle(
            fontSize: 20.0,
            fontWeight: FontWeight.bold,
          ),
        ),
      ),
    ),
  ),
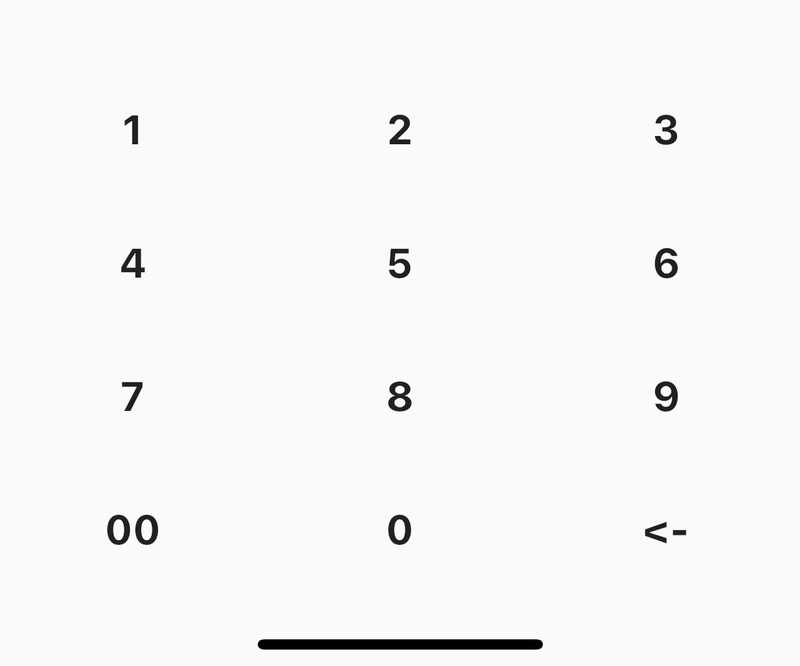
어떤가요? 이제 조금 더 키보드 다워졌죠? InkWell 을 사용했기 때문에 누를때마다 Ripple Effect 가 생기는게 아주 이쁘군요.
백스페이스 버튼 아이콘으로 변경하기
다른 버튼들은 상태가 좋은데 백스페이스 버튼에 아이콘을 사용하지 않아서 이쁘지가 않아요. 아이콘을 교체 해볼게요.
KeyboardKey.dart
class KeyboardKey extends StatefulWidget {
final dynamic label; // 이거 dynamic 으로 변경
final dynamic value;
final ValueSetter<dynamic> onTap;
KeyboardKey({
this.label,
this.onTap,
this.value,
}) : assert(label != null),
assert(onTap != null),
assert(value != null);
_KeyboardKeyState createState() => _KeyboardKeyState();
}
class _KeyboardKeyState extends State<KeyboardKey> {
// 조건부 렌더링!
renderLabel(){
if(widget.label is String){
return Text(
widget.label,
style: TextStyle(
fontSize: 20.0,
fontWeight: FontWeight.bold,
),
);
}else{
return widget.label;
}
}
Widget build(BuildContext context) {
return InkWell(
onTap: (){
widget.onTap(widget.value);
},
child: AspectRatio(
aspectRatio: 2,
child: Container(
child: Center(
child: renderLabel(),
),
),
),
);
}
}Keyboard.dart Key 리스트 선언 부분
final keys = [
    ['1', '2', '3'],
    ['4', '5', '6'],
    ['7', '8', '9'],
    ['00', '0', Icon(Icons.keyboard_backspace)],
];
키를 dynamic 타입을 받을 수 있도록 하고 String 타입이 들어올경우 기존의 Text 위젯을, 나머지는 직접 입력한 위젯을 렌더링 하도록 했습니다.
이제 백스페이스 버튼도 카카오 UI 와 상당히 비슷해졌어요.
Refactoring 및 확인 버튼 만들기
코드를 조금 더 보기 쉽게 정리하고 확인 버튼을 만들어 보겠습니다!
Keyboard.dart
class CustomKeyboardScreen extends StatefulWidget {
_CustomKeyboardScreenState createState() => _CustomKeyboardScreenState();
}
class _CustomKeyboardScreenState extends State<CustomKeyboardScreen> {
final keys = [
['1', '2', '3'],
['4', '5', '6'],
['7', '8', '9'],
['00', '0', Icon(Icons.keyboard_backspace)],
];
renderKeyboard() {
return keys
.map(
(x) => Row(
children: x.map((y) {
return Expanded(
child: KeyboardKey(
label: y,
onTap: (val) {},
value: y,
),
);
}).toList(),
),
)
.toList();
}
renderConfirmButton() {
return Row(
children: [
Expanded(
child: FlatButton(
onPressed: () {},
color: Colors.orange,
child: Padding(
padding: EdgeInsets.symmetric(vertical: 16.0),
child: Text(
'확인',
style: TextStyle(
color: Colors.white,
),
),
),
),
),
],
);
}
Widget build(BuildContext context) {
return Scaffold(
body: SafeArea(
child: Padding(
padding: EdgeInsets.symmetric(horizontal: 16.0),
child: Column(
mainAxisAlignment: MainAxisAlignment.end,
children: [
...renderKeyboard(),
Container(height: 16.0),
renderConfirmButton(),
],
),
),
),
);
}
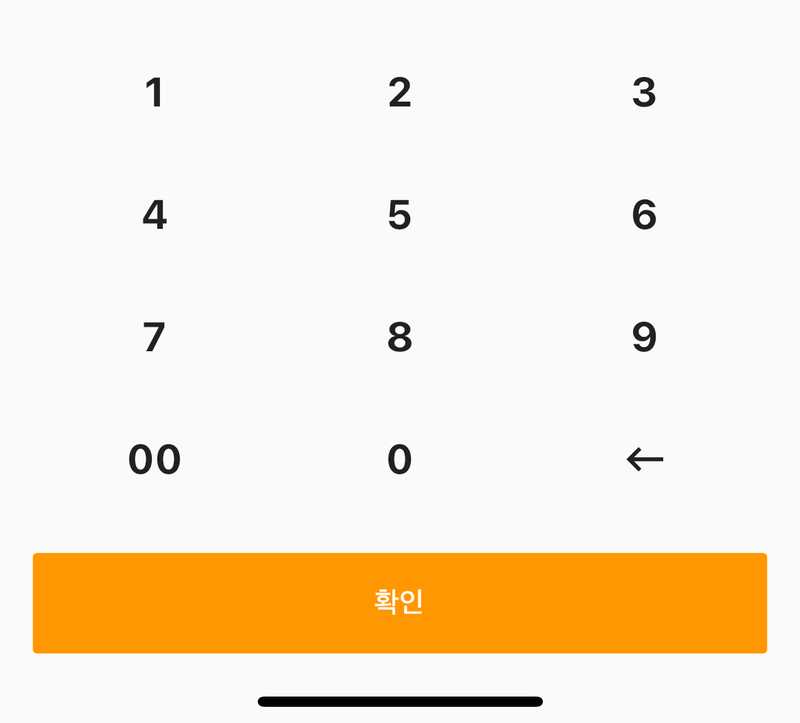
}이제 제법 그럴싸한 UI 가 나왔죠?
키보드 입력 받기
이제는 키보드를 누를때마다 입력을 받아서 화면에 보여줘야 합니다.
이건 TextEditingController 를 사용해도 되고 String
값을 하나 지정해서 작업을 해도 됩니다. 만약에 TextField 와
연동을 하고싶다면 TextEditingController 를 사용하는게 맞지만
저희는 카카오뱅크처럼 그냥 텍스트로 보여줄 계획이기 때문에 간단하게
String 값 하나를 운영하도록 할게요!
Keyboard.dart
class CustomKeyboardScreen extends StatefulWidget {
_CustomKeyboardScreenState createState() => _CustomKeyboardScreenState();
}
class _CustomKeyboardScreenState extends State<CustomKeyboardScreen> {
String amount;
void initState() {
super.initState();
amount = '';
}
final keys = [
['1', '2', '3'],
['4', '5', '6'],
['7', '8', '9'],
['00', '0', Icon(Icons.keyboard_backspace)],
];
onNumberPress(val) {
setState(() {
amount = amount + val;
});
}
onBackspacePress(val) {
setState(() {
amount = amount.substring(0, amount.length - 1);
});
}
renderKeyboard() {
return keys
.map(
(x) => Row(
children: x.map((y) {
return Expanded(
child: KeyboardKey(
label: y,
onTap: y is Widget ? onBackspacePress : onNumberPress,
value: y,
),
);
}).toList(),
),
)
.toList();
}
renderConfirmButton() {
return Row(
children: [
Expanded(
child: FlatButton(
onPressed: () {},
color: Colors.orange,
child: Padding(
padding: EdgeInsets.symmetric(vertical: 16.0),
child: Text(
'확인',
style: TextStyle(
color: Colors.white,
),
),
),
),
),
],
);
}
renderText() {
String display = '보낼금액';
TextStyle style = TextStyle(
color: Colors.grey,
fontWeight: FontWeight.bold,
fontSize: 30.0,
);
if (amount.length != 0) {
display = amount + '원';
style = style.copyWith(
color: Colors.black,
);
}
return Expanded(
child: Center(
child: Text(
display,
style:style,
),
),
);
}
Widget build(BuildContext context) {
return Scaffold(
body: SafeArea(
child: Padding(
padding: EdgeInsets.symmetric(horizontal: 16.0),
child: Column(
children: [
renderText(),
...renderKeyboard(),
Container(height: 16.0),
renderConfirmButton(),
],
),
),
),
);
}
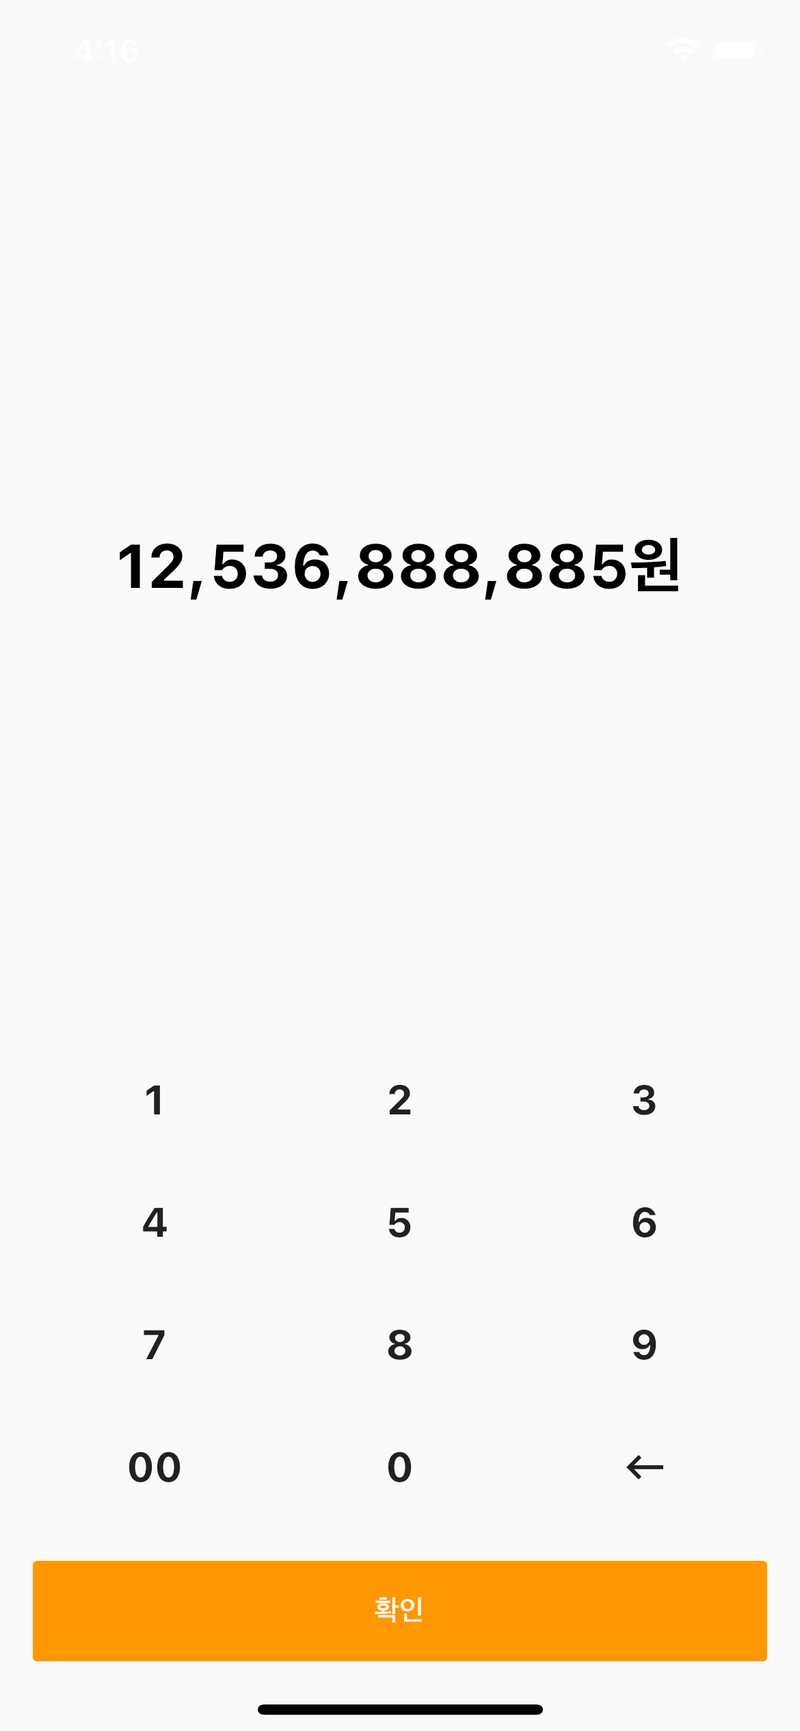
}이제 키보드의 키를 누르면 결과가 화면에 보여요. 키를 누르면
String 에 글자를 append 해주는 형태로 진행을 했고
backspace 를 누르면 String 에서 마지막으로 작성한 글자를
제거하는 형태로 구현 했어요.
숫자에 컴마 찍고 값이 입력 안됐을때 버튼 disable 하기
Keyboard.dart renderConfirmButton 함수
  renderConfirmButton() {
    return Row(
      children: [
        Expanded(
          child: FlatButton(
            onPressed: amount.length == 0 ? null : () {}, // 값이 없으면 disable
            color: Colors.orange,
            disabledColor: Colors.grey[200],
            child: Padding(
              padding: EdgeInsets.symmetric(vertical: 16.0),
              child: Text(
                '확인',
                style: TextStyle(
                  color: amount.length == 0 ? Colors.grey : Colors.white,
                ),
              ),
            ),
          ),
        ),
      ],
    );
  }
이제 금액에 입력이 안되어서 '보낼금액'이 표시가 되어있을 때는 확인 버튼이 회색으로 변하며 disabled 상태가 됩니다.
숫자를 쉽게 포메팅 하기 위해 Flutter Intl 패키지를 설치 해볼게요
pubspec.yaml
dependencies:
    flutter:
      sdk: flutter
    intl: ^0.16.1
Keyboard.dart renderText 함수
  renderText() {
    String display = '보낼금액';
    TextStyle style = TextStyle(
      color: Colors.grey,
      fontWeight: FontWeight.bold,
      fontSize: 30.0,
    );

    if (amount.length != 0) {
      NumberFormat f = NumberFormat('#,###');

      display = f.format(int.parse(amount)) + '원';
      style = style.copyWith(
        color: Colors.black,
      );
    }

    return Expanded(
      child: Center(
        child: Text(
          display,
          style:style,
        ),
      ),
    );
  }
예외처리
눈썰미가 좋으신 분들은 바로 알아차리셨겠지만 현재는 버그가 한가지
있습니다. 현재 int 를 업데이트 하는게 아니라 String 을
업데이트 하다보니 처음부터 0을 눌렀을때 0원이라는 표시가 나오게
되는데요. 아무런 값이 없을때는 0을 눌러도 '보낼금액'이라는
글자가 나오도록 버그를 고쳐보겠습니다.
Keyboard.dart onNumberPress 함수
  onNumberPress(val) {
    if(val == '0' && amount.length == 0){
      return;
    }

    setState(() {
      amount = amount + val;
    });
  }
결과물

